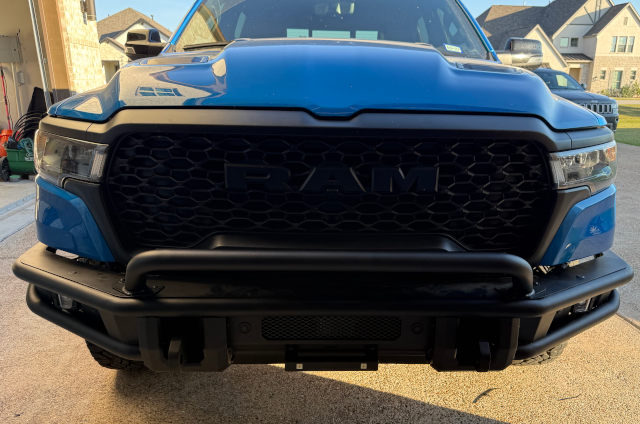
Installing RC Steel Tubular Front Bumper on 2025 RAM 1500
Rough Country sells these bumpers for 19-24 RAM 1500. I have new 2025 RAM 1500 and was willing to risk. The delivery was
flawless and the bumper looked like a good fit at first. Here is what I had to do to make it look nice.
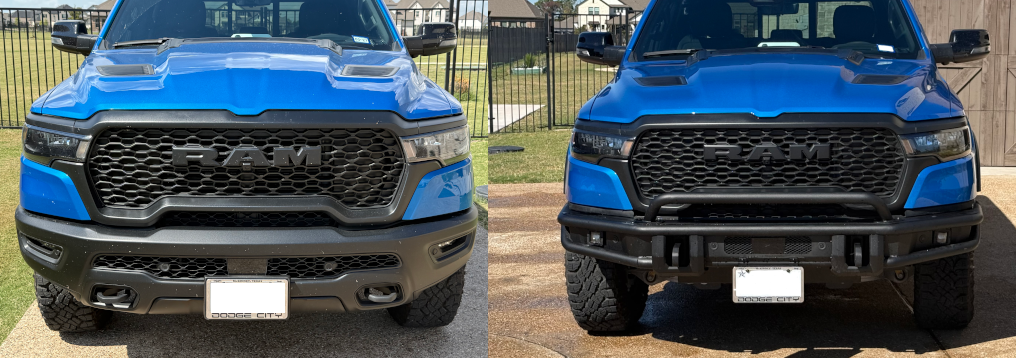
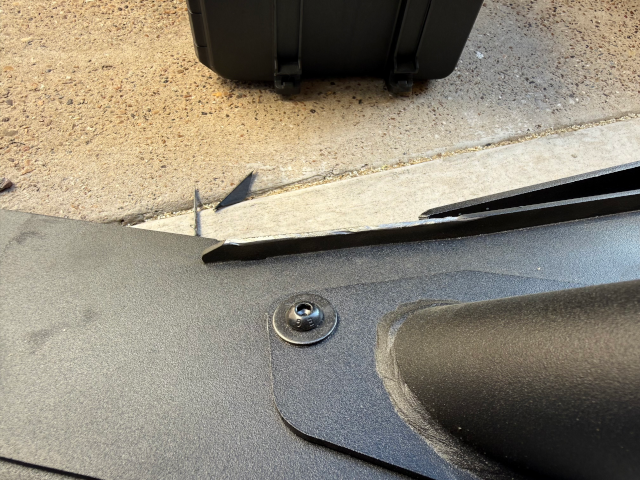
After removing the original bumper and putting new one on I found a pretty big gap between the bumper and the truck's body. Initially it was almost 2". Some of this space was taken by
2 pointy fins on the new bumper, which I had to cut off.
This allowed me to push the bumper higher. Then I jacked the bumper up, released all the bolts and retightened them. The gap got down to about 1".
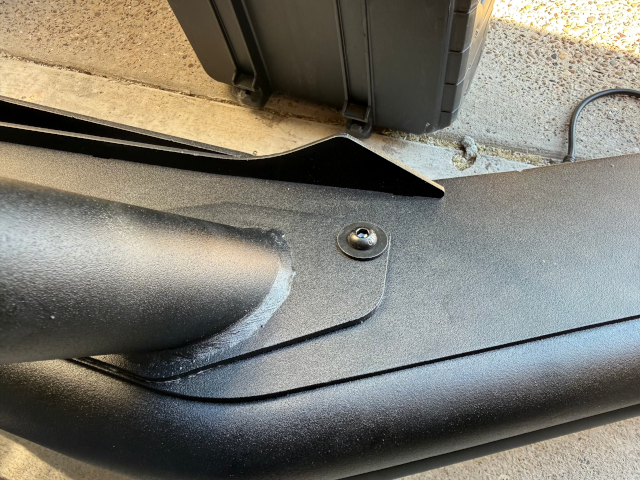
Then I used parts of the original rubber strip. I had to cut the clips from the strip, drill and tap (M5) holes and screw the parts on. This took care of the gap.

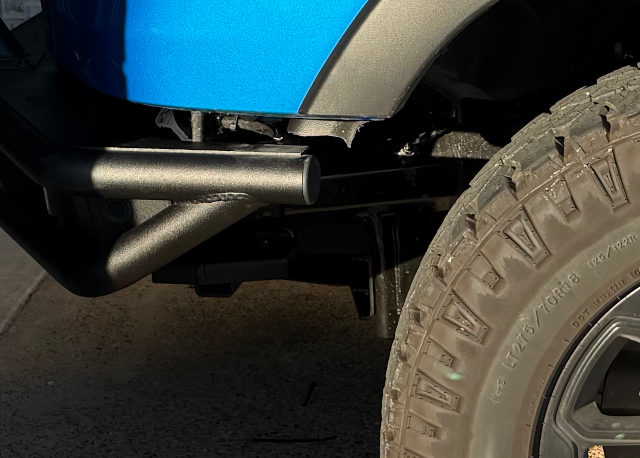
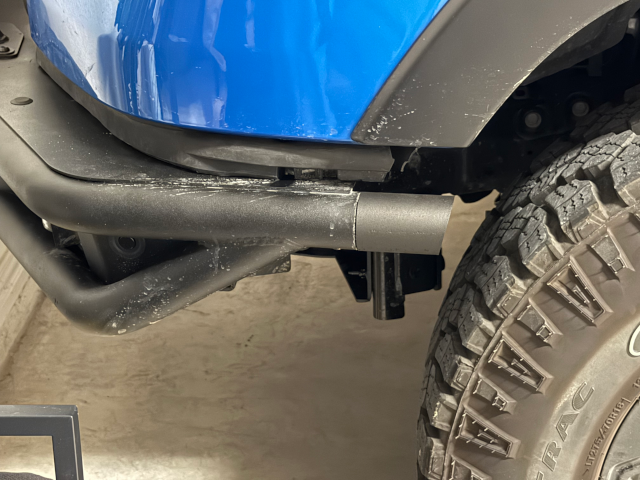
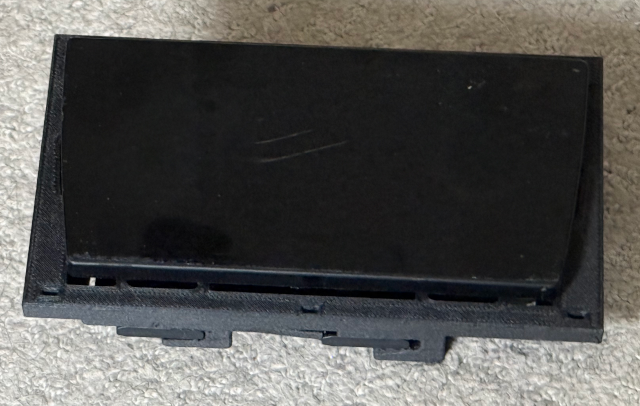
Next thing (or rather - things) were the side endings. I have plastic molding going around the wheel and the bumper endings looked very unfinished. I printed the end caps on a 3D printer
using carbon fiber filled nylon filament. From my experience these should last for a pretty long time.
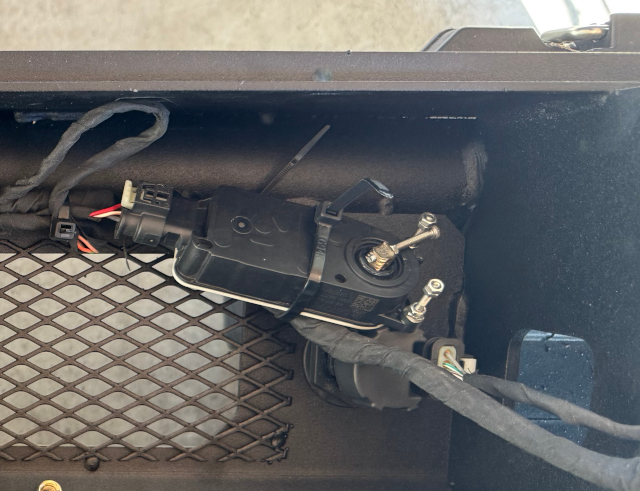
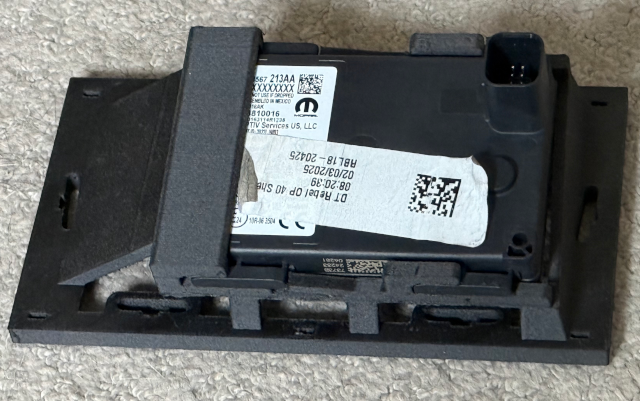
Next challenge was an active shutter, which I had to remove with the original bumper. I tried to leave it unconnected and I tried to connect just a motor. In both cases
the check engine light was on. And this really bothered me. So, I came up with the following solution. The motor only expected to go a quarter-turn. If moved less or more it
complained that the active shutter is "stuck open". See below how I limited it.
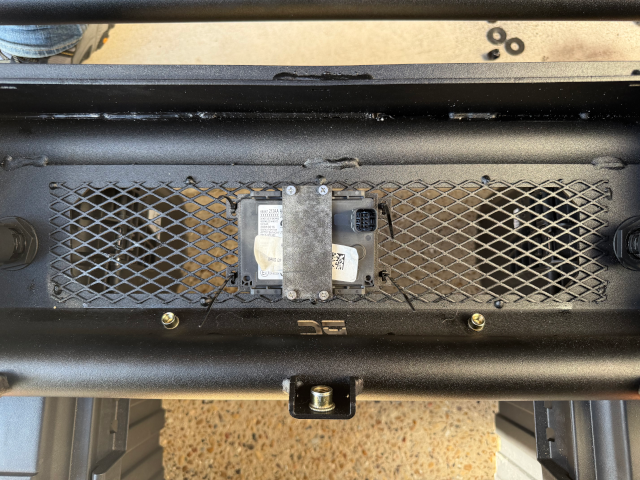
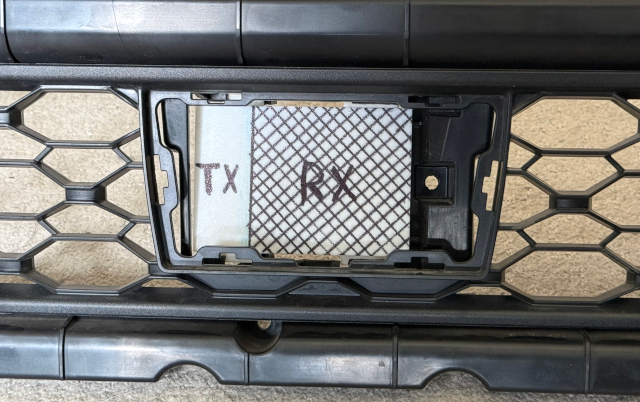
My truck is a higher end model and has all the bells and whistles (HUD, adaptive cruise control, huge screen, etc...) As I was told on RC's web site in the video that the radar for active
cruise control goes behind that little grille. Unfortunately, they did not mention how it was supposed to be attached there. First I printed a little frame and attached it to the
grille with zip ties.
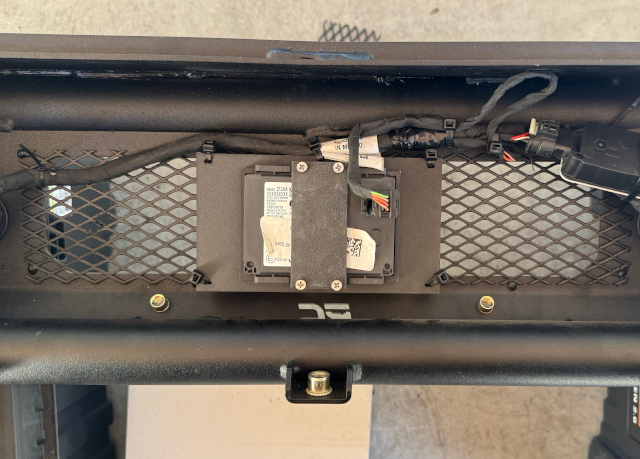
This was not a good solution. It could work for 2-3 days and then the truck would shine a bunch of yellow symbols and complain that the "front radar is not positioned correctly".
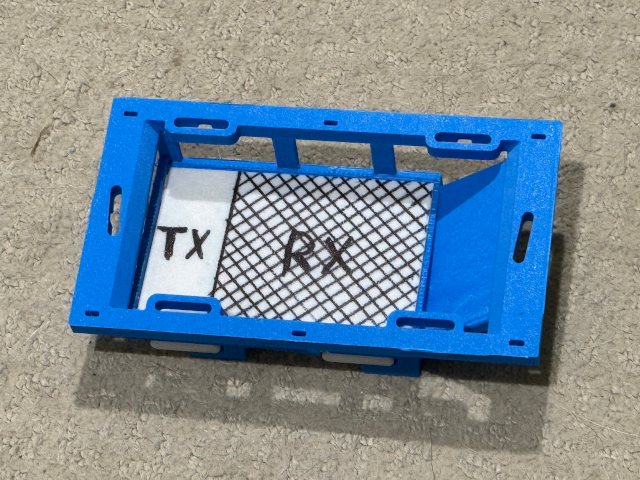
This error message could only be seen on an advanced OBD testers. I have an X-Tool, which in the DODGE mode allowed me to see this. Regular OBD-2 mode did not see any errors. So, I had to print
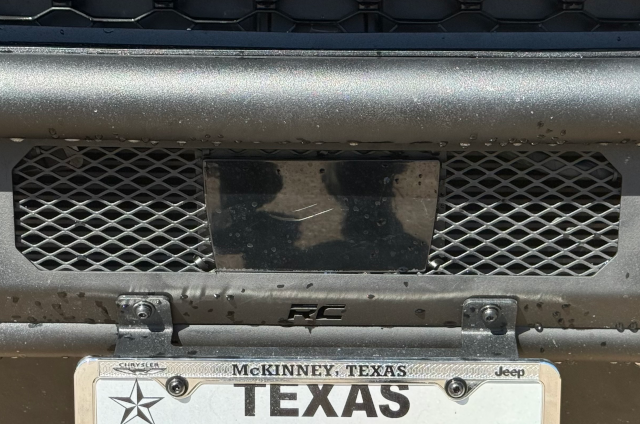
another bracket, which accommodated the original polycarbonate cover. And I had to cut a hole for this cover in the grille. Now it works fine.

I got fog lights from Rough Country too. The fit was not very good as the brackets holding the lights are not welded in proper positions. So, while one light is
centered in the hole, the other one is stuck at one edge. I will deal with this later. I wired new lights into the wires for original fog lights. They work just fine.
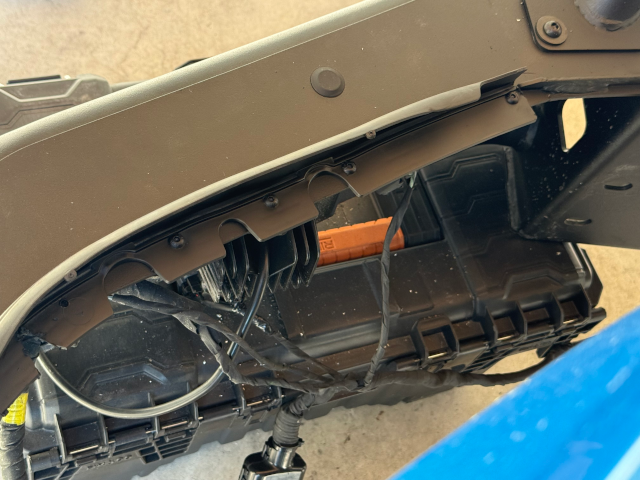
Now, what I really did not like about this bumper is a lack of tying points for zip ties. There are 2 parts on the harness which must be mounted in the horizontal position. Or at least
I think they should be mounted this way. Not sure what is inside, but they look and feel very stiff. And there were special places on the original bumper for them.
Other parts of the harnes just hang down. One has to be very creative to find places to tie the harness down to the bumper.
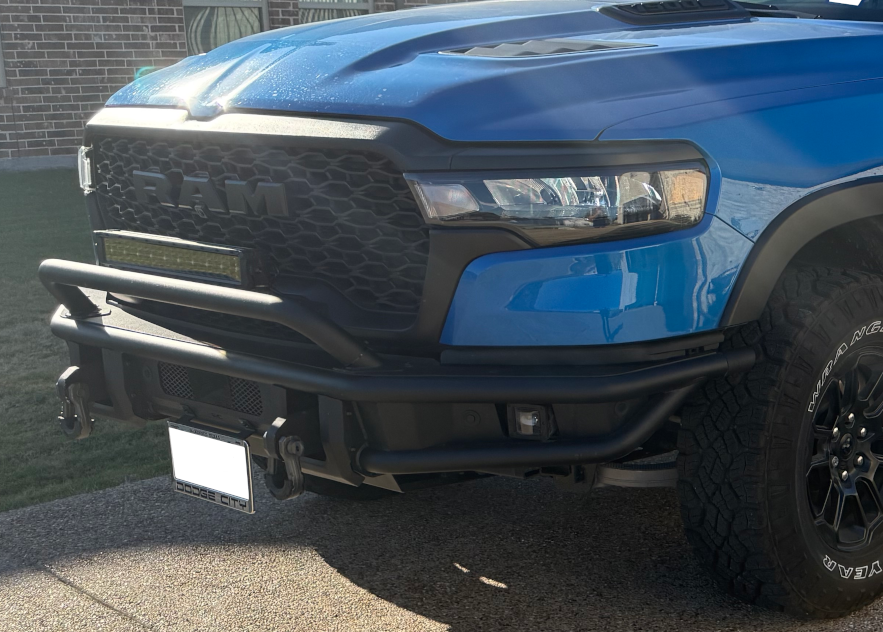
So, this was pretty much it. Some might not like the look, but I think this way truck looks a bit more lifted and lighter.
Undate 1
Well, it was not that sinmple after all. The ACC sensor popped up an "incorrect sensor position" error after 2 weeks of driving. So, I pulled the
original bumper from the storage, remeasured all angles and positions and redesigned the bracket.
First, I printed a "dummy AAC" sensor so I wouldn't be afraid to damage a good one.
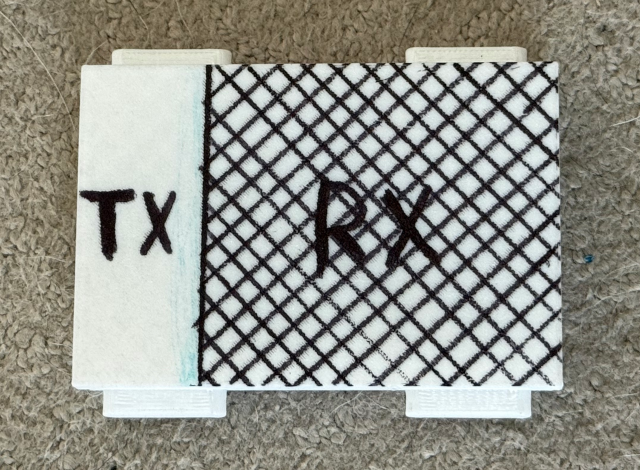
It actually positioned not at the bumper's center. Only the square RX part is centered. The RX and TX zones are just my guess though. The RX area
is centered and has like 120 degrees field of view.
Then I made a few brackets out of PLA to see the sensor is positioned correctly now. Previous version of the bracket had sensor pointed
about 7 degrees down. New one holds it straight. Also, no screws this time even though this made the bracket harder to print.
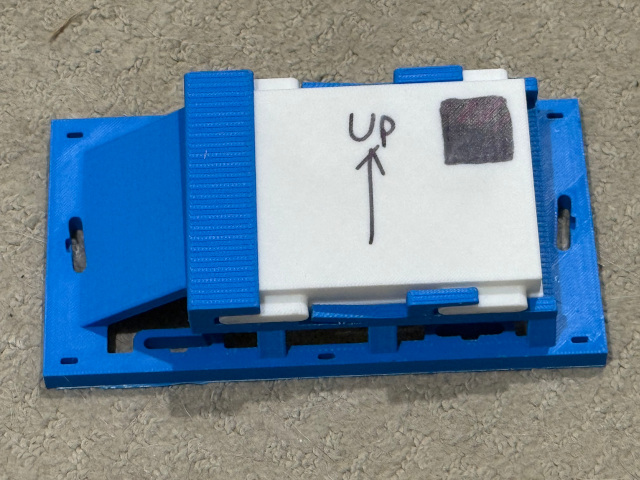
Here is the new bracket printed of carbon fiber filled PA (Nylon) with AAC sensor installed. AAC sensor recalibrates itself after the car is started and driven for a few miles.
The yellow light will stay on the dashboard until the next restart. No need to reset the fault code with the OBD2 tool. This is unlike the
blind spot sensor. See the Rear Bumper page for improvements in that area.

I am going to post all STL files on Thingiverse soon.